Many PC users want to install WhatsApp Plus on their computers. As you may know, you need Android applications (.apk files) for WhatsApp Plus to work.
To do this on a Windows computer, you need an Android emulator.
An Android emulator is a software that acts like a real Android device on your PC. This allows you to install and run Android apps and games on your computer.
You don’t need to be an expert to install this software. The process is simple, and using WhatsApp Plus on a PC offers a different experience than using it on a phone.
With this application, you can work and enjoy its innovative features at the same time.
Before moving on to the installation steps, make sure you meet some basic requirements.
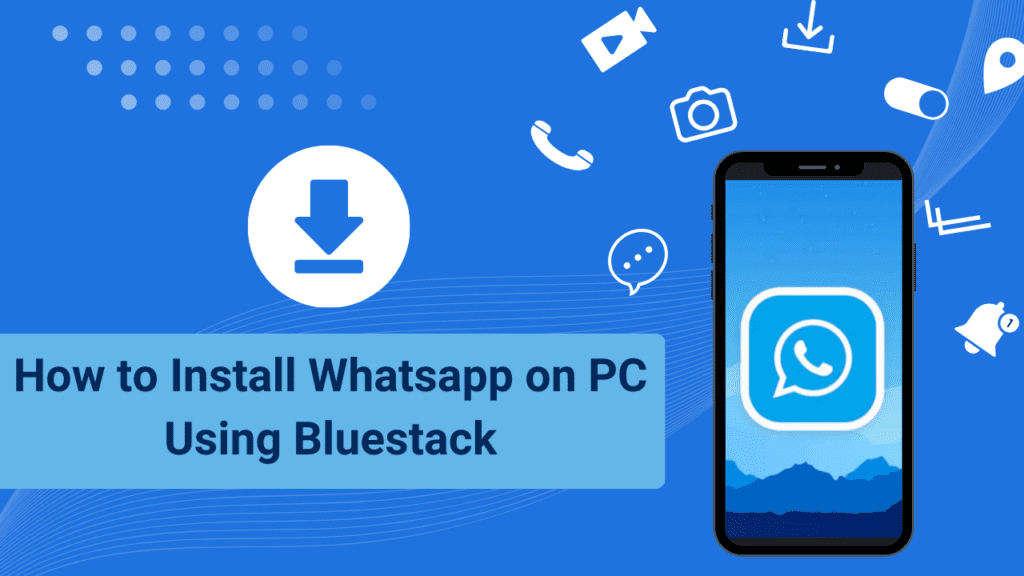
How to Install WhatsApp on PC Using Bluestack
Install WhatsApp plus using Bluestack want some requirements.
The Requirements Are:
- The RAM must be at least 4 GB.
- 5 GB of disk space is available.
- You must have Windows 7 or higher.
- An Android emulator called BlueStacks.
- The Processor must be Intel or AMD.
- The administrator account of your computer must be active.
- Make sure that the graphics drivers are up to date, either by Microsoft or by the chipset manufacturer.
Instructions to Install WhatsApp on PC are Below:
Install the software as you normally do on your Windows computer after downloading it to your PC.
1. Download Bluestack 5 Android Emulator from here.
2. Once the application is downloaded, run the emulator on your PC.
3. You will need to open the Bluestack application.
4. Select a location on your computer where you want to download WhatsApp Plus APK.
5. Install the application by double clicking on the apk file.
6. The application requires you to register with your phone number after installation.
7. After registering you can use WhatsApp Plus on your PC.